
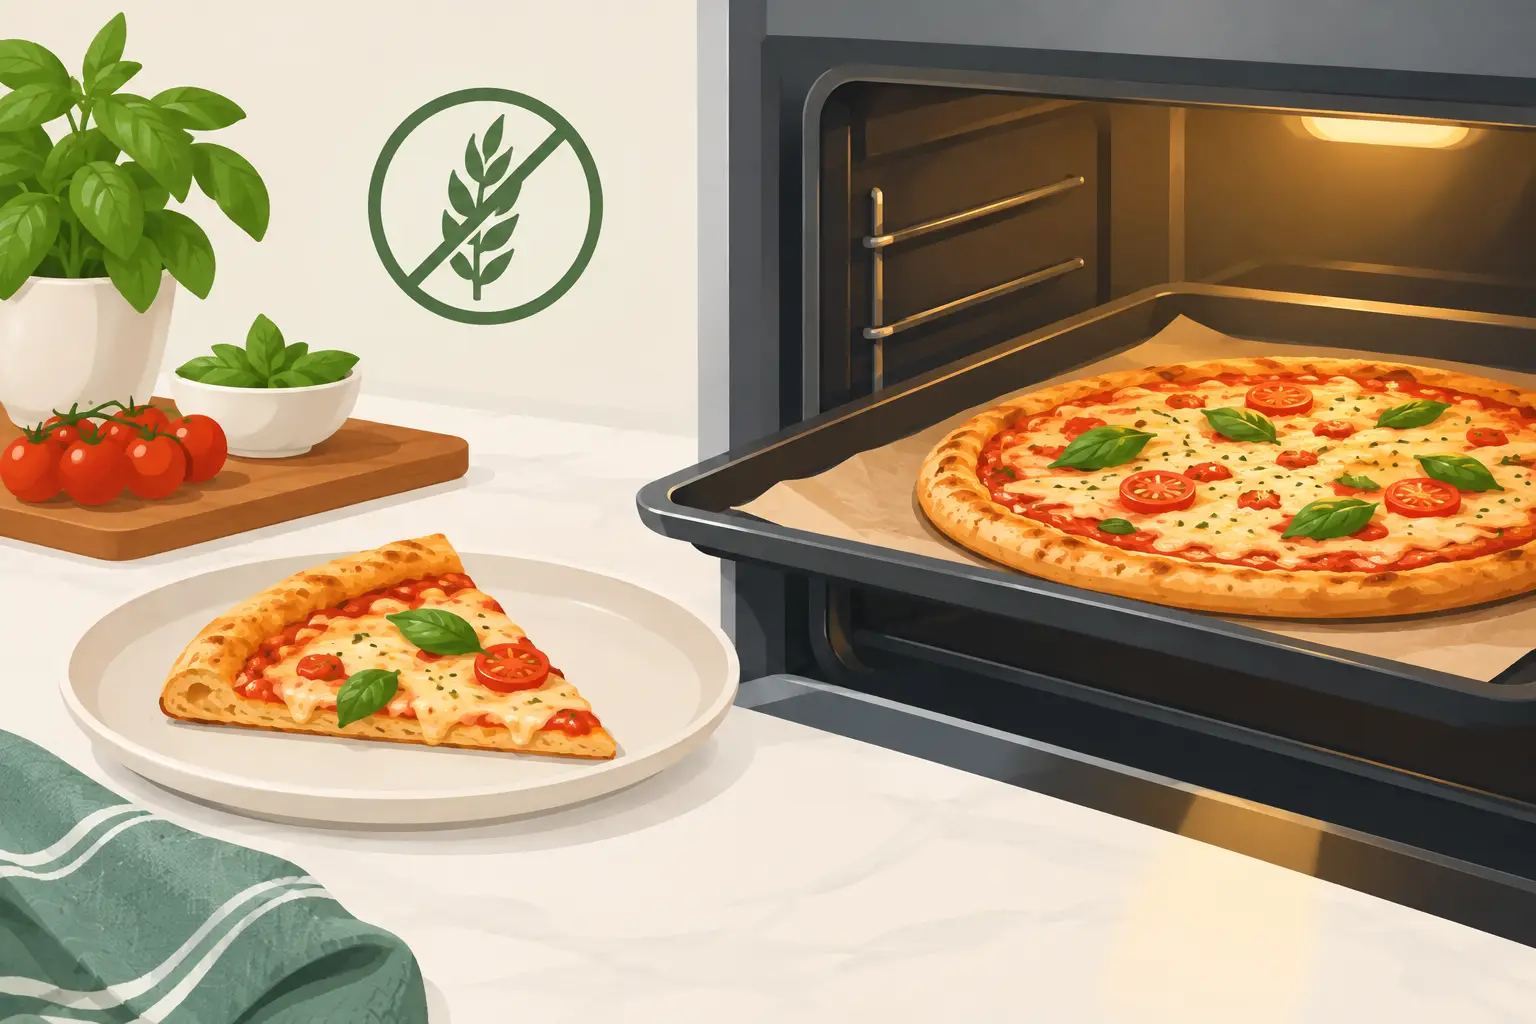
A great gluten-free pizza is not a compromise at the table, and it should not become one the next day. Gluten free pizza reheating is about restoring contrast: a crisp, lightly blistered base; a warm, tender center; melted cheese; and toppings that still taste like themselves. High heat matters, but so does restraint. Too much time in the oven can turn a carefully made gluten-free crust dry and hard before the center has properly warmed.
At Kesté, the goal of gluten-free pizza is the same complete Neapolitan experience every guest deserves: character in the dough, integrity in the ingredients, and care in every step. At home, a few small choices will make the difference between leftover pizza and a slice worth sitting down for.
The First Rule of Gluten Free Pizza Reheating
Start with a fully preheated cooking surface. Gluten-free dough generally has a different structure from wheat dough, so it benefits from direct, confident heat that revives the bottom quickly. A warm oven with a cold sheet pan asks the pizza to slowly dry out. A hot pan, pizza stone, steel, or baking sheet gives the crust a chance to crisp before moisture escapes from the crumb.
Take refrigerated pizza out of the container while the oven heats. Cardboard traps condensation, and plastic containers can leave the underside damp. If there is visible moisture on the bottom of the slice, gently blot it with a paper towel. Do not press down on the crust. The goal is to remove surface moisture, not flatten the airy texture.
For diners managing celiac disease or a serious gluten sensitivity, reheating deserves the same attention as ordering. Use a clean baking sheet, skillet, spatula, and cutting board. Avoid a shared toaster oven, pizza stone, or air fryer basket unless it has been thoroughly cleaned and is safe for gluten-free use. Flour residue and crumbs are easy to overlook, but they matter.
The Oven Method for a Crisp, Tender Slice
The oven is the most reliable choice for several slices or a full pie. Heat it to 400 to 425°F. If you have a pizza stone or pizza steel, preheat it for at least 25 minutes so the surface has stored enough heat to crisp the base. A heavy, upside-down sheet pan also works well and creates a flatter, hotter landing place than a room-temperature pan.
Place the pizza directly on the stone, steel, or hot pan. For a standard refrigerated slice, begin checking after 5 minutes. Most slices need 6 to 8 minutes, depending on their thickness, amount of topping, and starting temperature. A fuller pie may need 8 to 12 minutes. The cheese should be bubbling gently, not aggressively browning, and the bottom should feel dry and firm when lifted with a spatula.
If the crust is hot and crisp but the cheese needs another moment, move the pizza to a higher rack for 30 to 60 seconds. If the cheese is browning too quickly while the center remains cool, lower the temperature slightly and give it another minute or two. This is why reheating is not one fixed formula. A margherita warms differently from a pizza with vegetables, sausage, or extra mozzarella, all of which carry more moisture.
Avoid covering pizza with foil in the oven. It may protect the toppings, but it traps steam and softens the very crust you are trying to restore. If you are concerned about cheese browning, loosely tent the pizza only near the end, and only if necessary.
When a Skillet Is Better Than an Oven
For one or two slices, a skillet can deliver exceptional results with less waiting. Choose a clean cast-iron or heavy nonstick skillet and warm it over medium heat for 2 to 3 minutes. Place the slice in the dry skillet, cover it with a lid, and cook for 3 to 5 minutes.
The skillet crisps the bottom through direct contact, while the lid holds enough heat around the top to melt the cheese. Check the slice after 3 minutes. If the underside is crisp but the center is still cool, lower the heat and cover for another minute. If the pan runs too hot, gluten-free crust can darken before the toppings catch up, so medium heat is more dependable than high heat.
A few drops of water placed beside, not on, the pizza can create steam to melt stubborn cheese. Use this sparingly. Too much steam will soften the crust, and a gluten-free pie is especially unforgiving when it becomes waterlogged.
Can You Reheat Gluten-Free Pizza in an Air Fryer?
Yes, especially for a single slice, but the air fryer needs a watchful eye. Set it to 325 to 350°F and heat the slice for 3 to 5 minutes. Begin with the lower temperature if the pizza has delicate toppings, a thin crust, or a generous layer of cheese. The circulating air can revive a crisp edge quickly, but it can also dry the exposed crust faster than an oven.
Place the slice in a clean basket in a single layer. Do not stack slices, and do not crowd the basket. If your air fryer has a perforated liner, make sure it is designated for gluten-free food or freshly cleaned. Check after 3 minutes, then add time in 30-second increments. The pizza is ready when the cheese is warm through and the crust has regained its structure without becoming brittle.
Why the Microwave Is Usually the Wrong Choice
The microwave is fast, but speed comes at a cost. It heats water in the pizza more readily than it rebuilds a crisp crust, which often leaves the base chewy or rubbery. For a Neapolitan-style pizza, where texture is part of the craft, that trade-off is rarely worthwhile.
If a microwave is your only option, heat one slice for 30 to 45 seconds at 50 to 70 percent power, then finish it in a dry skillet for 1 to 2 minutes. This two-step approach warms the center without subjecting the crust to a long microwave cycle. It is not the ideal method, but it is far better than microwaving until the cheese is scorching and the base has gone soft.
Reheating Pizza From Frozen
Frozen gluten-free pizza needs a little more patience. Do not thaw it on the counter, where condensation can soften the crust and make it harder to crisp. Heat the oven to 425°F, using a preheated stone, steel, or sheet pan if possible. Remove all packaging and place the pizza directly on the hot surface.
Most frozen pizzas need 10 to 16 minutes, though the exact time depends on the pie and your oven. Rotate it halfway through for even heat. Look beyond the clock: the cheese should be melted and lively, the edge should be golden, and the center should feel hot when a knife touches it. Let the pizza rest for 1 to 2 minutes before slicing. That short pause allows the cheese to settle and keeps toppings from sliding away with the first cut.
Small Details That Protect Big Flavor
Reheat only what you plan to eat. Each cooling and reheating cycle costs the crust moisture and can dull the toppings. Store leftover pizza in a shallow, airtight container in the refrigerator, ideally with slices in one layer or separated by parchment. Eat refrigerated leftovers within 3 to 4 days for the best quality and food safety.
Do not add fresh basil, delicate greens, or a drizzle of extra-virgin olive oil before reheating. High heat will flatten their aroma. Add them after the pizza comes out of the oven or skillet, when the warmth can release their fragrance without cooking away their character. The same goes for finishing cheese and chili oil.
If your slice seems dry before reheating, resist the urge to oil the crust heavily. A light brush of olive oil around the outer edge can help, but too much oil will fry the base rather than revive it. Better heat, a shorter cook time, and a properly preheated surface are the real solutions.
A gluten-free pizza made with care has already done the difficult work: it has created flavor, lightness, and satisfaction without asking anyone at the table to settle. Reheat it with the same respect. Give the crust a hot surface, keep your tools safe and clean, and let the pizza tell you when it is ready.