
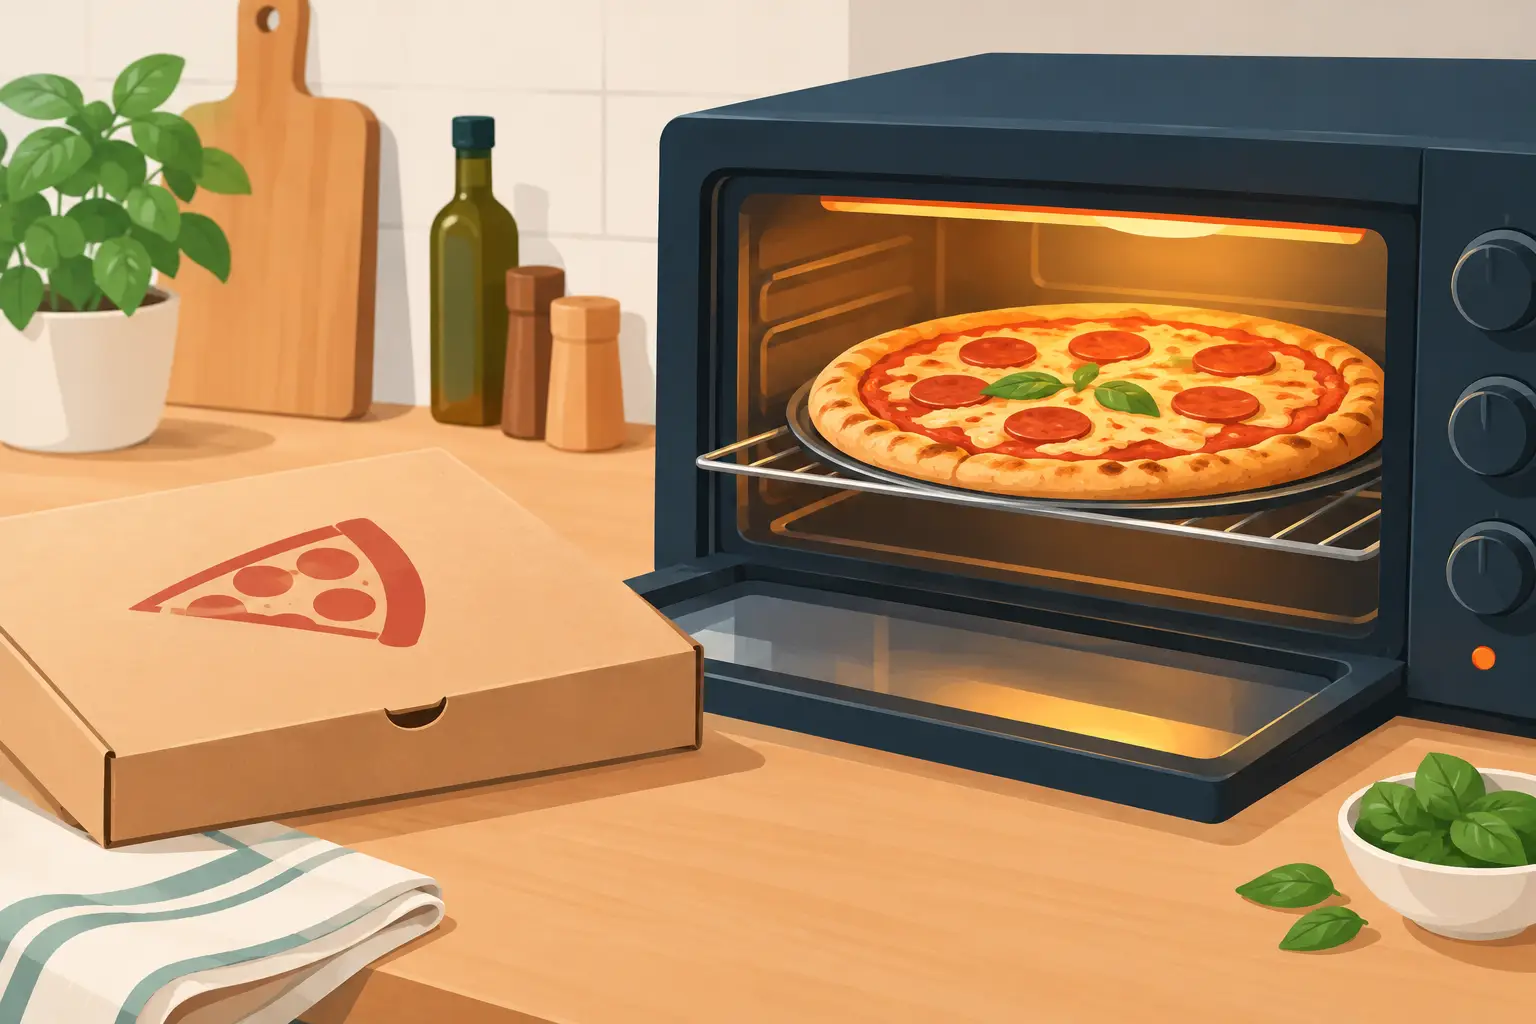
A shipped pizza should not taste like a compromise. It was made to carry the character of a real pizzeria beyond its dining room: naturally fermented dough, carefully chosen ingredients, and a balance between a tender center and a beautifully blistered crust. Learning how to reheat shipped pizza is the final step in that craft. Give it the right heat and a little patience, and your kitchen can bring back the aroma, texture, and generous spirit of a pizza just made.
Start With the Pizza’s Condition
Before the oven comes on, check whether your pizza arrived frozen or refrigerated. This matters more than any single timer setting. A frozen pizza needs steady heat long enough to warm the center without scorching the cheese or drying out the rim. A refrigerated pizza, already thawed, needs less time and closer attention.
Follow the instructions included with your order if they differ from general guidance. Every pizza has its own personality. The thickness of the dough, the amount of topping, and the moisture in ingredients such as fresh mozzarella, tomatoes, mushrooms, or vegetables all affect the bake.
If your pizza arrived frozen, keep it frozen until you are ready to cook it. Repeated thawing and refreezing can damage the dough’s structure and leave the crust less lively. If it arrived refrigerated, cook it promptly and keep it cold until the oven is fully preheated.
How to Reheat Shipped Pizza in the Oven
For most shipped pizzas, a fully preheated conventional oven is the most reliable choice. Set it to 425°F to 450°F. Higher heat helps revive the crust quickly, which is essential for preserving contrast: crisp beneath, tender within, and lightly charred at the edges where appropriate.
Place an oven rack in the lower third of the oven. This gives the base enough direct heat to firm up without placing the toppings too close to the upper heating element. Preheat for at least 20 minutes after the oven signals that it is ready. Home ovens often reach their displayed temperature before the walls, rack, and baking surface have stored enough heat to do their work well.
If you have a pizza stone or baking steel, let it preheat with the oven. A steel is especially effective because it transfers heat quickly into the bottom of the crust. Slide the pizza directly onto the hot surface using a peel, a rimless baking sheet, or the back of a sheet pan. Bake until the cheese is bubbling, the center is hot, and the bottom has crisped.
Without a stone or steel, use a sturdy sheet pan. For a crisper bottom, preheat the pan for several minutes, then carefully place the pizza on it. A perforated pizza pan can also work well, though it may produce a slightly drier crust with longer bakes.
A frozen pizza will commonly need about 12 to 18 minutes at this temperature range. A refrigerated pizza may be ready in 8 to 12 minutes. Those are useful starting points, not promises. Open the oven near the end and look for the signals that matter: melted cheese with a little movement, an evenly heated topping, and a crust that has regained color and structure.
Give the Crust Its Best Chance
Pizza is a study in heat management. The top and bottom rarely cook at exactly the same pace in a home oven, so a small adjustment can make a meaningful difference.
If the cheese is browning before the bottom has crisped, move the pizza down one rack position. If the bottom is ready but the top needs a little more color, move it higher for the final minute or two. Keep an eye on it. Fresh mozzarella and delicate toppings can turn quickly once they are close to the broiler.
Avoid baking shipped pizza on parchment paper unless the package instructions call for it. Parchment is convenient, but it creates a slight barrier between the pizza and the baking surface. When the goal is a properly crisp base, direct contact with a hot pan, steel, or stone usually produces a better result.
Do not overload the pizza with extra cheese before baking. It may sound generous, but it can blanket the crust in moisture and obscure the flavor of the ingredients already there. If you want to add something personal, finish the pizza after baking with a few torn basil leaves, a drizzle of extra-virgin olive oil, grated Parmigiano-Reggiano, or a pinch of crushed red pepper.
The Broiler: Useful, but Only at the End
A broiler can bring welcome color to the cheese and edges, especially if your oven is slow from above. It is not the place to start. Use it only after the base is nearly crisp and the pizza is heated through.
Set the broiler to low if your oven offers that option, and watch continuously. Thirty seconds can be enough. The goal is not to burn the top into submission. It is to add the last touch of lively heat that gives melted cheese a little caramelized color and wakes up the aroma of tomato, olive oil, and herbs.
Can You Use an Air Fryer?
You can, particularly for individual slices, but there is a trade-off. Air fryers circulate heat aggressively, which can crisp the bottom and edges quickly. They can also dry a delicate crust or send loose toppings sliding if the basket is crowded.
For leftover slices, preheat the air fryer to 350°F and heat for roughly 3 to 5 minutes. Check after two minutes. For a whole shipped pizza, an oven remains the better choice when space allows, since it heats more evenly and gives the crust room to expand rather than forcing it into a small basket.
A microwave is best avoided for reheating pizza. It warms food fast, but it softens the crust by exciting moisture rather than restoring the dry, direct heat pizza needs. If the microwave is your only option, use it briefly to take the chill off, then finish the pizza in a hot skillet or toaster oven to recover some crispness.
Reheating Leftover Slices the Next Day
A good pizza deserves a second life. For slices that have already been baked, the skillet method is excellent. Heat a nonstick or cast-iron skillet over medium heat, place the slice inside, and cover it loosely. The pan crisps the underside while the trapped heat gently warms the cheese.
After 2 to 4 minutes, add a few drops of water beside the slice, not on it, and cover for another minute if the cheese needs help melting. The small burst of steam warms the top without sacrificing the crust. It is a simple restaurant technique with a remarkably satisfying result.
For several slices, use a 375°F oven on a sheet pan for about 6 to 8 minutes. Leave a little space between slices so hot air can circulate. Pizza reheats more evenly when it is not crowded.
Gluten-Free Pizza Deserves the Same Care
Gluten-free pizza should never be treated as an afterthought. Its dough has a different structure and may crisp more quickly than traditional wheat dough, so begin checking it a few minutes earlier. Use a clean pan, clean utensils, and a clean work surface if you are serving someone with celiac disease or a serious gluten sensitivity.
This attention to detail reflects the same hospitality behind a dedicated gluten-free program: every guest deserves the complete pizza experience, not a lesser version of it. At Kesté, that standard begins in separate certified production and continues all the way to the table, or to your home oven.
Let It Rest Before the First Slice
When the pizza comes out of the oven, resist cutting it immediately. Let it rest for 2 to 3 minutes. This short pause allows the cheese and toppings to settle, reducing the chance that everything slides off with the first cut. It also lets the crust release steam, so the bottom stays crisper.
Then slice, serve, and eat while the pizza is at its best. A shipped pizza carries a long journey in every box, but the final few minutes are yours. Treat them with the same care that went into the dough, and a slice of Naples can arrive at your table exactly as it should: hot, fragrant, and made to be shared.