
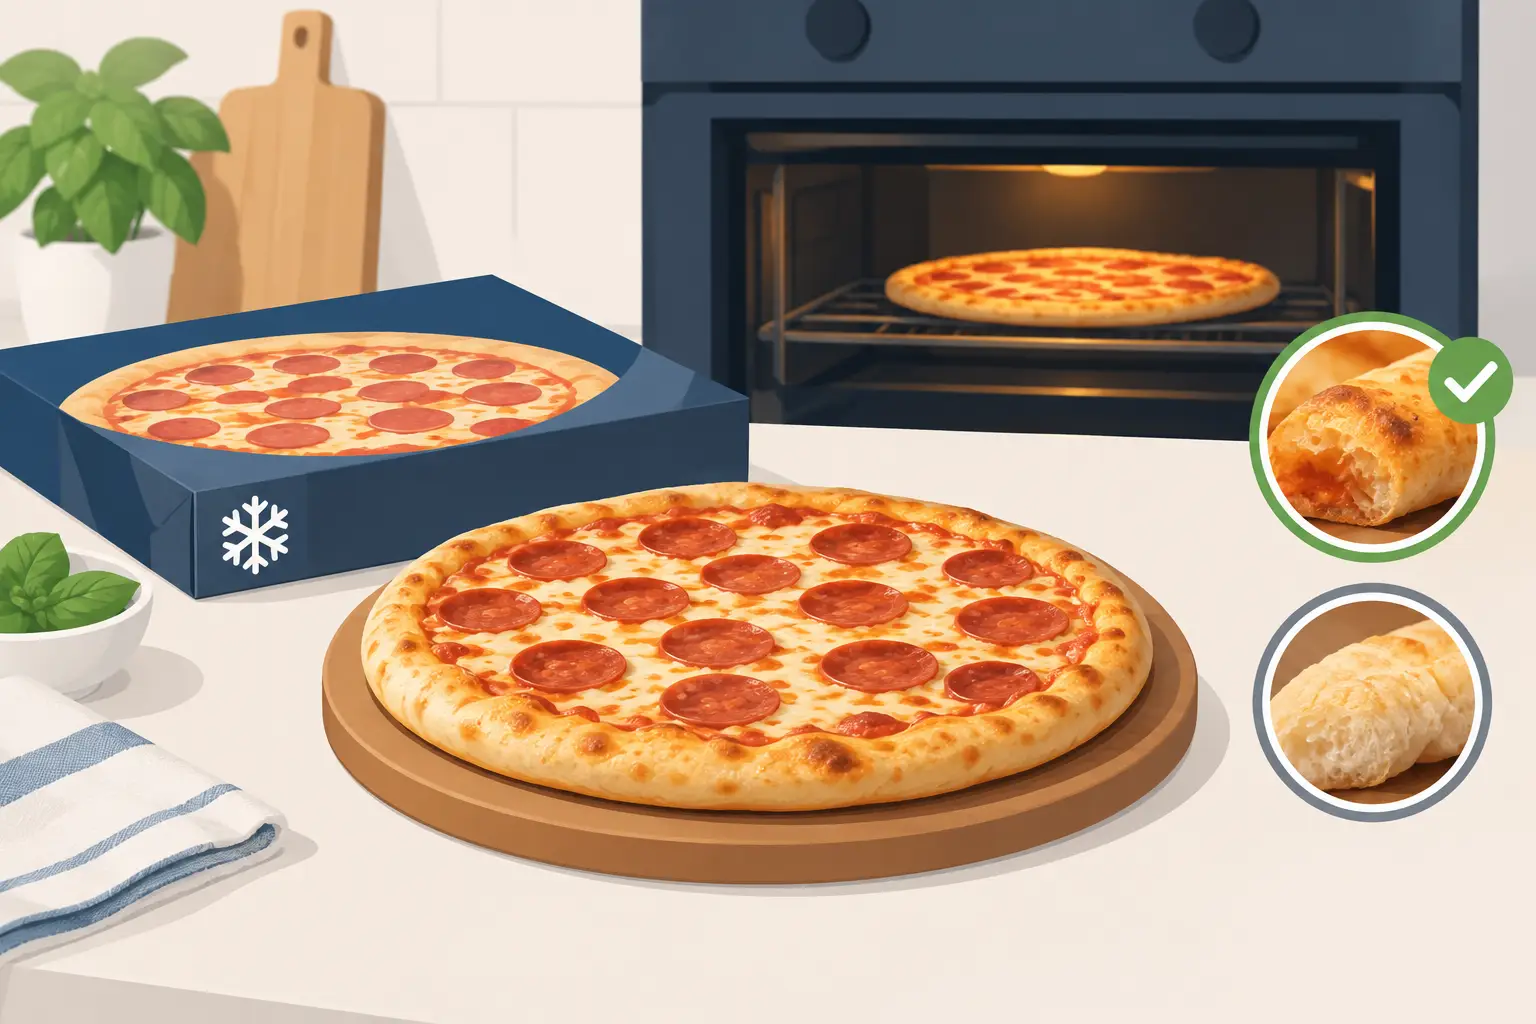
A frozen pizza can carry the character of a carefully made pie all the way to your freezer. The difference between a limp crust and a beautiful, blistered slice often comes down to a few disciplined choices at home. These frozen pizza cooking instructions focus on heat, timing, and restraint so the dough, sauce, and cheese have the chance to taste as they should.
Start With the Instructions on Your Pizza
Every pizza has its own ideal bake. Dough thickness, hydration, topping volume, cheese type, and whether the pizza is fully baked or par-baked all affect the temperature and cooking time. The instructions printed on the package are the final authority, especially for a pizza made by a specific producer.
Use this guide to understand the technique behind those directions, not to replace them. If the package calls for a conventional oven, do not assume an air fryer or microwave will produce the same result. A great crust needs strong, dry heat. That is difficult to achieve in appliances designed primarily for speed rather than baking.
Keep the pizza frozen until the oven is fully preheated. Letting it sit on the counter while the oven warms can soften the dough and introduce excess moisture before the crust has a chance to set.
Frozen Pizza Cooking Instructions for a Crisp Crust
Preheat your oven completely, not just until the preheat signal sounds. Most home ovens need a few additional minutes for the walls, racks, and air inside the cavity to reach an even temperature. That stored heat matters when a frozen pizza goes in.
For most frozen pizzas, a hot oven in the range specified on the package is essential. Place the rack in the middle or lower-middle position unless the instructions say otherwise. The middle rack encourages even melting and browning; moving slightly lower gives the bottom crust more direct heat when it needs help crisping.
Bake the pizza directly on the oven rack when the package permits it. Air can circulate beneath the crust, helping it bake dry and firm rather than steam on a pan. If you prefer to use a baking sheet, preheat the sheet in the oven first. Sliding the pizza onto a hot pan gives the bottom an immediate burst of heat.
A pizza stone or steel can be even more effective, but use it only if the product instructions allow it. Preheat the stone or steel thoroughly, often for 30 to 45 minutes, then carefully transfer the frozen pizza onto the surface. A steel conducts heat more aggressively than a stone, so it can create an excellent underside while requiring close attention near the end of the bake.
Do not add extra toppings at the start unless they are thin and quick-cooking. Piling cold vegetables, fresh mozzarella, or additional sauce onto a frozen pizza lowers the surface temperature and can leave the center wet. If you want to personalize the pie, add delicate ingredients such as basil, arugula, cured meat, or a drizzle of olive oil after baking. Add a small amount of quick-cooking toppings during the final few minutes.
Watch the Pizza, Not Only the Clock
Package cooking times are a useful range, but home ovens vary. A pizza may need an extra minute or two if your oven runs cool, if you are baking on a sheet pan, or if the door has been opened repeatedly. A powerful oven or preheated steel may finish the pie sooner.
Look for a deeply heated center, fully melted cheese, and a crust that has turned golden at the edges. Lift the pizza carefully with a spatula and inspect the underside. It should feel dry and structured, with visible browning rather than a pale, flexible base.
Cheese can be deceptive. It may look melted while the dough below it is still underdone. If the cheese is browning too quickly but the crust needs more time, loosely tent the top with foil for the final minute or two. If the crust is done but the cheese needs a little more color, move the pizza to a higher rack briefly, watching it continuously.
If your pizza contains raw ingredients or the package provides a specific internal-temperature instruction, follow that guidance precisely. Never rely on appearance alone when the producer identifies a food-safety temperature.
Give It a Short Rest
When the pizza comes out of the oven, resist cutting it immediately. Rest it for two to three minutes on a cutting board or cooling rack. This brief pause allows the molten cheese and sauce to settle, protects the roof of your mouth, and helps the slices hold their shape.
Avoid resting the pizza on the hot baking sheet. The retained heat can overcook the underside, particularly with thinner crusts. Transfer it off the pan as soon as it is safe to do so.
The Best Setup for Different Oven Tools
A conventional oven is the most dependable choice for preserving texture. It heats the pizza from all sides and gives dough enough time to cook through before the toppings burn. For a handcrafted-style pie with a tender interior and a crisp base, it is usually worth waiting for the oven to preheat properly.
A convection oven can work well, but its fan moves heat more aggressively. Follow the package direction if it includes a convection setting. If it does not, consider reducing the temperature slightly or begin checking earlier than the stated bake time. The moving air can brown cheese and exposed crust edges faster.
An air fryer is best suited to smaller individual pizzas or reheating slices. It can crisp the exterior quickly, but its compact chamber can overbrown the top before a thicker center is fully warmed. Use a lower temperature than a conventional oven when appropriate, cook in a single layer, and check early.
The microwave is a convenience tool, not a crust tool. It will heat a pizza, but it traps moisture in the dough and cannot create the dry heat needed for browning. If a microwave is your only option, use it as directed on the package. If possible, finish the pizza for a few minutes in a toaster oven or skillet to restore some crispness.
Common Problems and Their Simple Fixes
A soggy center usually means the pizza did not receive enough bottom heat, had too many wet toppings, or was baked on a cold pan. Next time, use the rack directly or preheat your sheet pan, and avoid opening the oven door until the final check.
A burnt edge with pale cheese often points to a rack placed too low or an oven that runs hotter than its display suggests. Raise the rack one position, reduce the temperature slightly if the package permits, and check your oven with an inexpensive thermometer if the problem repeats.
When cheese slides off in one piece, the pizza may have been cut too quickly or the topping layer may be overly wet. A short rest is often the fix. Cut with a sharp wheel or rocker in decisive strokes rather than dragging the cheese across the surface.
For gluten-free pizza, follow the product’s instructions with particular care. Gluten-free dough has a different structure and often benefits from the dry, direct heat of an oven rack or preheated pan. If you are preparing food for someone with celiac disease or a serious gluten sensitivity, use clean tools, clean surfaces, and a dedicated pan or liner where needed. A gluten-free pie deserves the same full, crisp, flavorful experience as every other pizza.
Finish With a Light Hand
The best final touch should support the pizza, not conceal it. A few torn basil leaves, a modest shower of Parmigiano Reggiano, crushed red pepper, or a thread of extra-virgin olive oil can bring aroma and brightness after baking. Add them while the pizza is hot, then serve it while the crust still has its voice.
At Kesté, pizza begins with respect for dough, ingredients, and heat. That same respect belongs in the home oven. Give your frozen pizza a fully preheated oven, a proper surface, and a moment to rest, and each slice can arrive at the table with the crispness, warmth, and generosity a good pizza promises.