
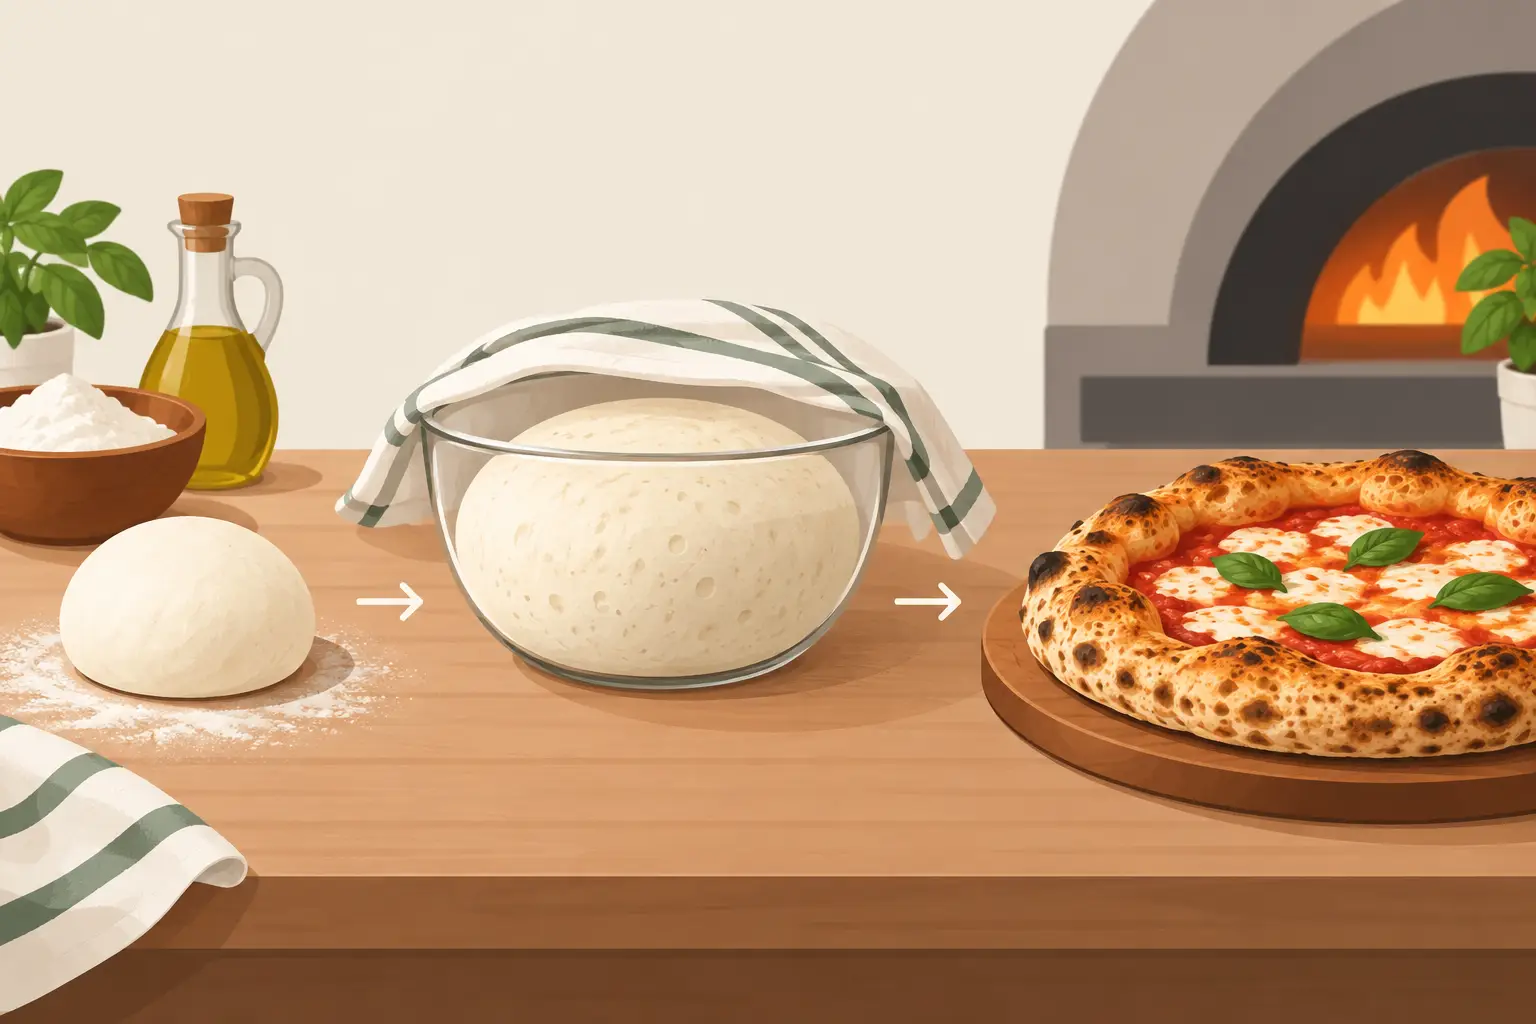
A pizza can look beautifully blistered and still disappoint at the first bite. The difference is often not the oven, the cheese, or the topping. It is the dough’s quiet work before it ever reaches the peel. This pizza dough fermentation guide explains how time, temperature, and careful handling build the airy rim, tender center, and deep wheat flavor associated with a true Neapolitan-style pizza.
Fermentation is not a shortcut to be rushed, nor is it a fixed number on a recipe card. Flour, room temperature, yeast quantity, hydration, and even the strength of your refrigerator all affect the result. Learn to read the dough, and you can make thoughtful adjustments instead of hoping for the best.
What Fermentation Brings to Pizza Dough
Yeast consumes sugars in the flour and produces carbon dioxide, which creates the small pockets of gas that expand in the oven. But fermentation is more than lift. As the dough rests, enzymes help break down complex starches and proteins. The dough becomes more extensible, the flavor becomes rounder, and the finished crust develops a character that cannot be created by adding more yeast.
For Neapolitan pizza, this matters because the bake is fast. A properly fermented dough enters a very hot oven with enough internal structure to rise dramatically at the edge, while remaining supple enough to stretch thin through the center. The result should be light rather than bready, with a gentle chew and a clean flavor that supports the tomatoes, mozzarella, and olive oil.
Longer fermentation has limits. An over-fermented dough can become weak, overly acidic, sticky, and difficult to shape. It may spread across the bench instead of holding a round form, and its aroma can turn sharply alcoholic. The goal is maturity, not maximum time.
Pizza Dough Fermentation Guide: Time and Temperature
Temperature is the steering wheel of fermentation. Warm dough moves quickly. Cool dough moves slowly and develops flavor over a longer period. This is why two doughs made from the same formula can behave completely differently in a New York apartment, a warm summer kitchen, or a professional dough room.
A same-day dough can be ready in roughly 6 to 10 hours, depending on yeast level and room temperature. It can produce a good pizza when planned carefully, especially when the dough has enough time to relax after balling. Its flavor will be cleaner and more straightforward, with less complexity than a long-fermented dough.
For many home pizza makers, a cold fermentation of 24 to 72 hours offers a more forgiving path. Mix the dough, allow fermentation to begin briefly at room temperature, then refrigerate it in a covered container. The cold slows the yeast while enzymes continue their work. On pizza day, bring the dough balls back toward room temperature so they can become soft, airy, and easy to stretch.
A 48-hour schedule is often a sensible starting point. It gives the dough time to develop while staying manageable for most flours and home refrigerators. If your dough routinely overproofs, reduce the yeast, shorten the room-temperature rest before refrigeration, or lower the refrigerator temperature. If it remains dense and resistant to stretching, give it more time out of the refrigerator before shaping.
A Practical Fermentation Rhythm
Begin with water, flour, salt, and a very small amount of yeast. Mix until no dry flour remains, then knead only until the dough is smooth and cohesive. Excessive mixing can warm the dough unnecessarily and make fermentation harder to control.
After mixing, let the dough rest in bulk until it shows the earliest signs of activity. This might be a modest increase in volume, a smoother surface, or a few tiny bubbles. Divide it into individual balls before the dough has expanded too far, then place the balls in covered containers with room to grow.
Once chilled, do not judge readiness solely by the clock. A finished dough ball should look relaxed and slightly domed, with visible air beneath the surface. When gently pressed, it should slowly spring back while retaining a light indentation. If it feels tight and cool at the center, it needs more time. If it collapses under the slightest touch, it has likely gone too far.
Hydration Changes the Fermentation Story
Hydration refers to the amount of water in relation to flour. A 65% hydration dough, for example, uses 650 grams of water for every 1,000 grams of flour. Higher hydration can support an open, tender crumb, but it also makes dough more delicate to handle. Lower hydration is easier to manage but may produce a tighter interior if the dough is not fermented well.
For a home baker pursuing a Neapolitan-inspired result, a hydration range around 60% to 65% is a practical place to begin. The right number depends on your flour, your oven, and your comfort with handling soft dough. A strong Italian-style flour may absorb water differently from a standard all-purpose flour, so formulas should be treated as informed starting points, not rigid laws.
Water temperature matters, too. If your kitchen is warm, cooler water can help prevent the dough from racing ahead. In a cold kitchen, moderately warmer water may help fermentation begin. Aim for a finished dough that is neither chilled nor noticeably hot after mixing. Consistency is more valuable than chasing a single perfect number.
How to Stretch Dough Without Losing Its Air
A beautifully fermented dough can still be flattened into a disappointing crust by rough shaping. Avoid a rolling pin. It presses out the gas that fermentation worked to create, particularly around the rim.
Place the dough ball on a lightly floured surface and press gently from the center outward, leaving a wider border untouched. Turn the dough as you work, using your fingertips to encourage a thin center. Once it is wide enough, lift it and let gravity help stretch it. The dough should feel alive and cooperative, not forced.
If it snaps back repeatedly, stop. Cover it and let it rest for 15 to 20 minutes. Resistance usually means the gluten needs time to relax, not that the dough needs more force. If it tears easily, handle it more gently and consider whether it has fermented too far or has been made with flour that is not strong enough for the schedule you chose.
Common Fermentation Problems and What They Mean
Dense dough usually points to insufficient fermentation, dough that was too cool, or yeast that was inactive. Give it more time at room temperature before baking, and confirm that your yeast was fresh and measured accurately.
A dough that is sticky, sour, and hard to move has often over-fermented. Next time, use less yeast or shorten the warm portion of the process. Refrigeration is helpful, but it does not stop fermentation completely.
Large, uneven bubbles can be welcome in the finished crust, but a single huge pocket in the dough ball may signal uneven handling or proofing. When balling, create a smooth, taut surface without crushing the dough. Store each ball with enough space so it can expand without pressing into its neighbors.
A pale crust is not always a fermentation problem. Home ovens may lack the intense heat of a Neapolitan pizza oven, and excess flour on the base can interfere with browning. Still, well-fermented dough contains more available sugars, which can help color develop during the bake.
Give the Dough the Respect It Deserves
At Kesté, natural fermentation is part of the discipline behind every pizza, not a decorative phrase. It reflects a simple belief: exceptional ingredients deserve time, and guests deserve a crust with the flavor, texture, and lightness that time can create.
Keep a small notebook for your dough. Record the flour, hydration, yeast amount, room temperature, refrigeration time, and how the dough felt when stretched. After a few batches, you will see your own kitchen clearly. The best fermentation schedule is the one that gives you a dough ready to become a generous, fragrant pizza when your oven is hot and your table is waiting.